Getting our dining room looking good has been a priority for a long time. For months, all we had in our dining area was a plastic folding table and some chairs from my dads house that he lent us. Dining tables and chairs are expensive and I had to get creative.
Almost a year ago, I found an old table at Owensboro Trading Post for $50. It was square, with old newspaper stuck to it and peeling paint. It had several leafs laying underneath it in an old box. I passed it so many times when I walked through the store but never did anything, even though I loved it. It needed a LOT of work.
Finally, I went one day with my Dad and we passed it and I pointed it out to him. He laughed at me and told me I was crazy. It was it terrible shape and not worth anything. But guess what we left with? After all, there's a reason I'm "crazy" and he might have had something to do with it...
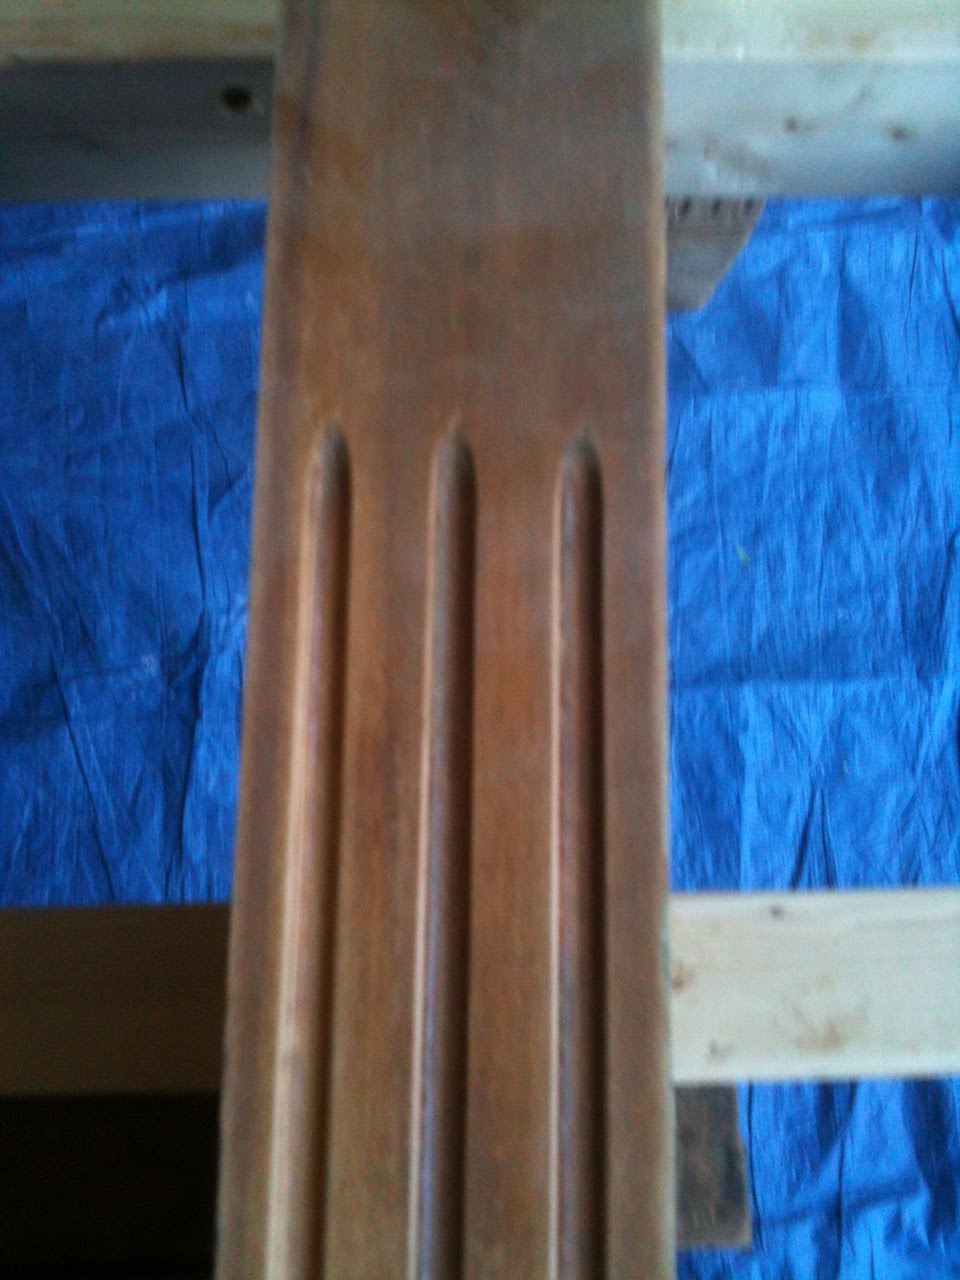
The original plan was to strip the paint, because it was cracked and peeling, and repaint it white. But once it was stripped, I couldn't bear the thought of painting it. My dad agreed, so we decided to stain it instead. Then he had to take the top apart completely, lengthen it, reattach the boards and sand it down quite a bit. At some point someone had nailed the boards down, so he took those out and filled in the holes. The wood was extremely dry and cracking. Here are some pictures taken during the process.
Once the table was done, the hunt for chairs got serious...and depressing. I thought for sure I could find some cute, old chairs for a good price. But chairs are expensive and we needed eight. I wanted something different and eclectic, and not too traditional. I checked thrift stores regularly, hunted for deals online, and even went to the Nashville flea market at the fairgrounds that is the fourth Saturday of each month (it is glorious).
Of course I found things that I loved, just nothing in my price range. I wanted chairs for less than $50 a piece (still $400 total!!!) but ideally $25-$30 (still $200-$240). I know in the most of the blog and interior design world that is a ridiculous expectation. I was easily finding chairs for $200-$400 a piece. A piece. My mind was having trouble comprehending ever wanting to lay down that much cash PER chair, but kudos to those who can afford that!
Anyway, I decided I was either getting metal chairs or wood ones and painting them. I really felt they would have to be painted since the table and floors were both wood, it would just be too much wood. And honestly, the thought of sanding down and painting 8 chairs after a year-and-a-half-long full house renovation had me cringing.
I ended up finding some
metal bistro chairs at Kohl's during a sale. After the sale and an additional 30% off I was able to get each chair for about $45. I then received $75 in Kohl's cash and my dad gave me his $15 from another purchase. With that I went to Kohl's on Cyber Monday and ordered two
upholstered dining chairs and after the sale, an additional 20% off and the Kohl's cash, ended up paying $25 a piece. They were not my first choice because they were very straight, high-backed chairs and my bistro chairs are very short. But it was the only style left in a color I liked, so I pulled the trigger. For $25 a piece, I won't feel bad if I replace them in a couple years.
Kohl's is a great place to hunt for deals when you are on a budget, but it takes a lot of time and "strategy". Timing is very important. Also, quality is hit and miss. I ordered a club chair online a few months ago and I've never seen such a poorly made upholstered chair. I was so disappointed but the return was fairly easy. So far, I have been happy with the quality of these chairs.
Here is the space now!
We were incredibly lucky to find this chandelier up in the attic. It was pretty dirty and I cleaned it a little before it was hung but I just now finished thoroughly cleaning it...six months later :)
I love the mix of formal and casual. I'm glad we decided to stain the whole table, rather than painting the legs. We also put the small little wheels back on the legs as it was originally. My Dad did a great job basically rebuilding us a table from what I will now admit was in pretty awful shape. He is still worried about it but I think it will hold up!
Since it isn't Christmas anymore, but still winter, I just put a simple centerpiece using a Target clearance bottle, a candle leftover from our wedding, and some sprigs of mistletoe that were super cheap at Hobby Lobby.
I tried to use traditional rectangular placemats but they were too big for 8 place settings, so I bought some burlap at hobby lobby, made a circular template and cut out these round placemats. They aren't perfect and unravel slightly when you cut them but for $8, I consider the project a success!
I am currently working on putting together a gallery wall for the space. I can't wait to finish and hang it because I know it will add some interest to the space!
-katie